Working on some more Redshift today trying to dial in some shaders. I reworked my thin film to be a bit more subtle and took a stab at some subsurface scattering gummy bears. Pretty happy with the results.


Flipbook Houdini Sim
Working up a sim of a pretty serious fire sim and here is the flipbook of it ATM.
RedShift and the Adaptive Error Threshold (AET).
One of the most annoying things about RedShift is that the defaults for everything is pretty much shit. This means you gotta spend 5-10 minutes setting up everything correctly at the start of a project. Well yesterday I was rendering out some very reflective thin type with moving lights and was running into the flickering highlight problem. I recalled reading a bit about AET but forgot the gist of it but after a bit of googling I found this forum post about it. This pretty much sums it all up. Bookmark it…
“In the Unified Sampling there is also Adaptive Error Threshold (AET). "This parameter controls how sensitive the noise detection algorithm will be. Lower numbers will detect noise more aggressively which means that more rays will be shot per pixel and vice-versa. It is recommended that you use the ‘show samples’ feature to visualize the effect of this parameter. The default 0.01 value should work well for a variety of scenes. For production-quality results, we recommend lower settings such as 0.003." AET seems to work amazingly well with it not taking much more processing power to figure out which pixel needs more samples. Knowing this let's say we set US Min to 1 and Max to 512. As said in the first post 512 seems to give the best quality for some odd reason and lower render times. A higher US max does not seem to give better quality for some strange reason. Now we set BF rays at 16384 it's max. We do this because AET seems to also control BF samples. The more BF samples the better. Set Irradiance Point Cloud samples to 1. The AET is so powerful we can now control exactly how fast Redshift renders and with what quality with the one parameter. Doing it in this way makes AET into a single make it pretty slider. Values between 0 and 2147483647 work for this with the higher number giving less quality and 0 being the max quality. I found a value of 0.001 is the lowest it can go without being 0 and seems to be needed for some scenes. A value of 0 gives the best results if one wants to wait much longer. If doing animations a higher AET could be used with Randomize pattern every frame as the different samples can be smoothed between frames with great results. Now that I know this I'm kind of scratching my head wondering why Redshift didn't simplify it to the one slider. It really does work that well.”
Pyro testing between Houdini and C4d
Doing some testing this weekend with Pyro sims and I noticed so interesting differences between how they look in Houdini / Redshift native and exported as VDBs into C4d / RedShift. This is part one, Houdini and Redshift native. It’s ugly and imperfect, but like I said I just wanted to test some things.
I like the C4d animation better. Has a more solid feel. But compare the stills and Houdini has more subtle things going on.

Next Step is to get the render settings and Post Effects more aligned and work up the textures of the grill to something more realistic. I was just happy to get this sim running cleanly like I wanted and in both programs in one day honestly.
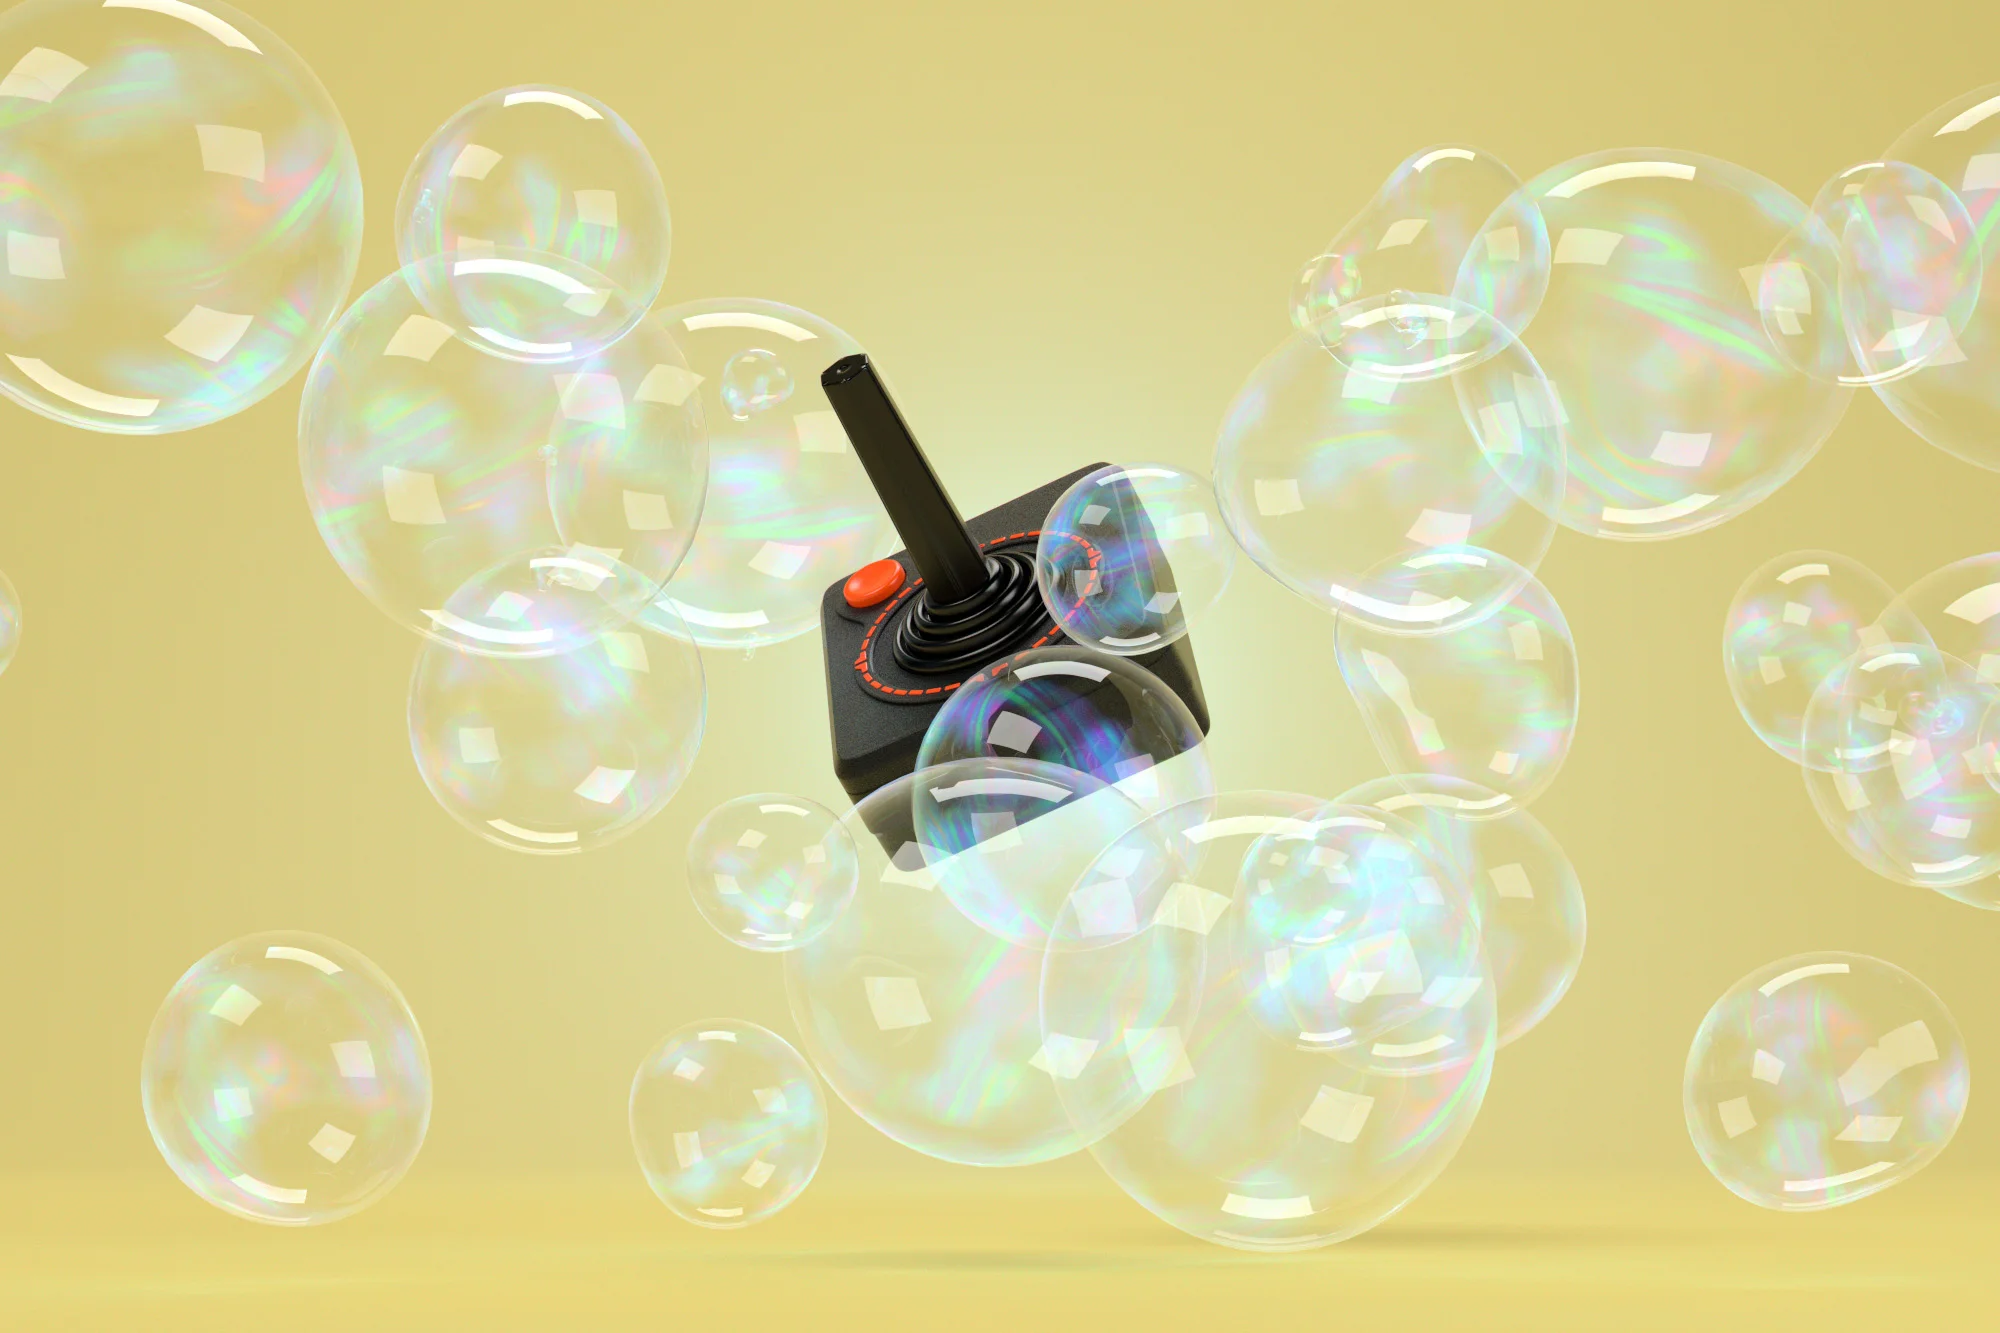
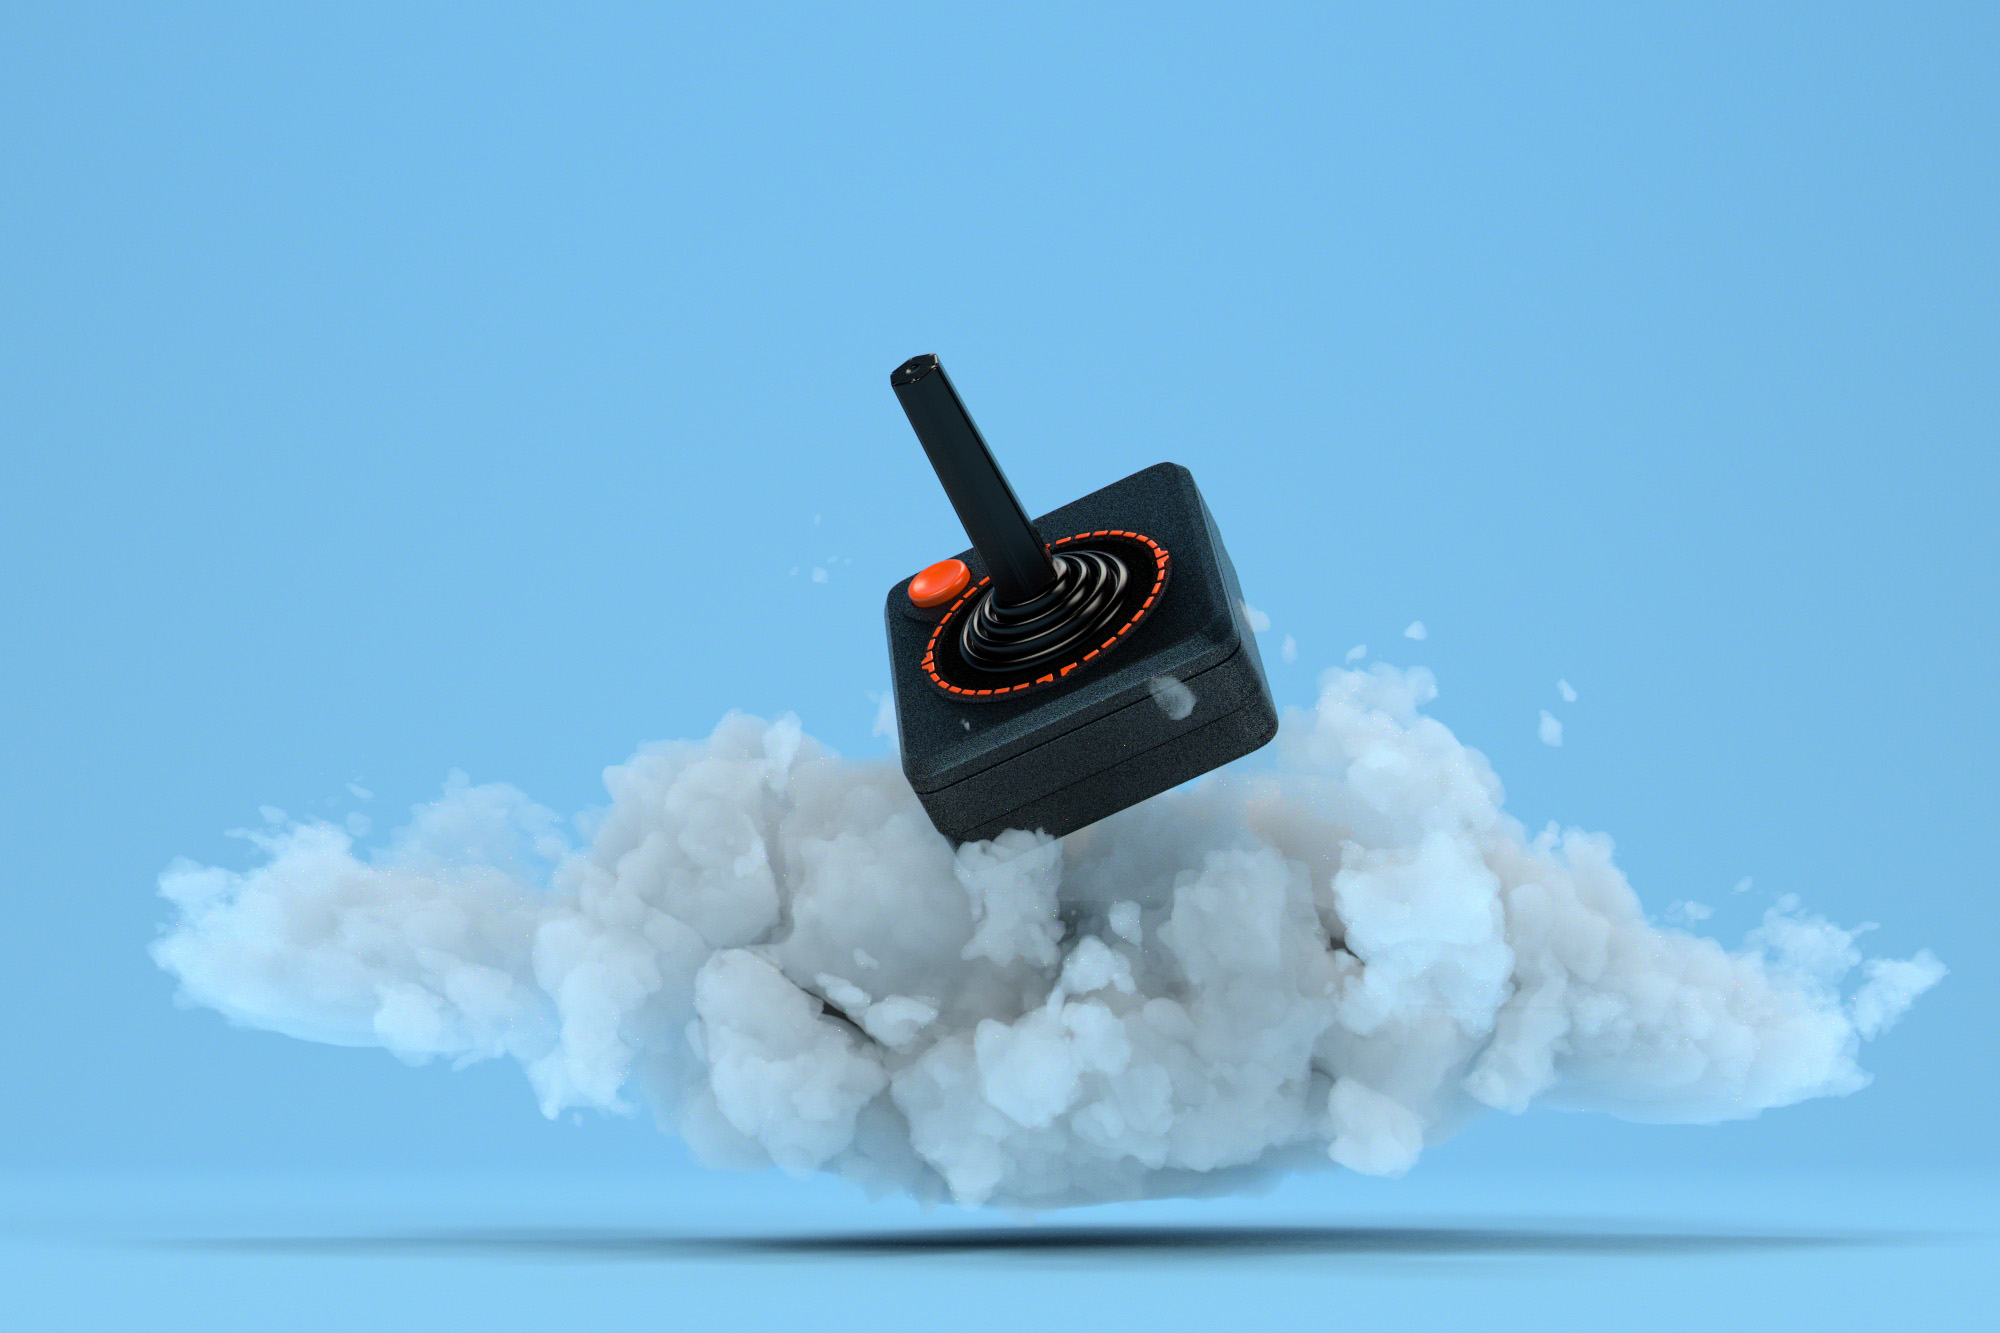
Set builds
Thinking about maybe doing a daily series of images based around CG Set builds. Just some simple still life things that have a bit more commercial appeal then skulls and heavy dark shit. LOL! Anyways, yesterday I built out these two in C4d and Redshift just to get a feel for if I think it’s worth getting into. It’s that or go back and revist some older projects and figure out how to update them to C4d and Redshift. That would be a longer process but I would get to remake a ton of assests for the library so it’s a hard call.


Volumetrics innnnn sppppaaaaaaaaaacccceeeeee!
Worked up a volumetric study in C4d and Redshift last night. Was interesting to put the thing in a cloner and play with it that way. The cloner idea was from that LFO Desgin class I am taking ATM. Learning a ton from that, probably one of the best classes I have purchased and I have bought a tooooon of tutorials. He really explains what everything does instead of just walking you through entering numbers. That or my brain has exploded from Houdini and I am just happy to have a damn UI again instead of coding…..


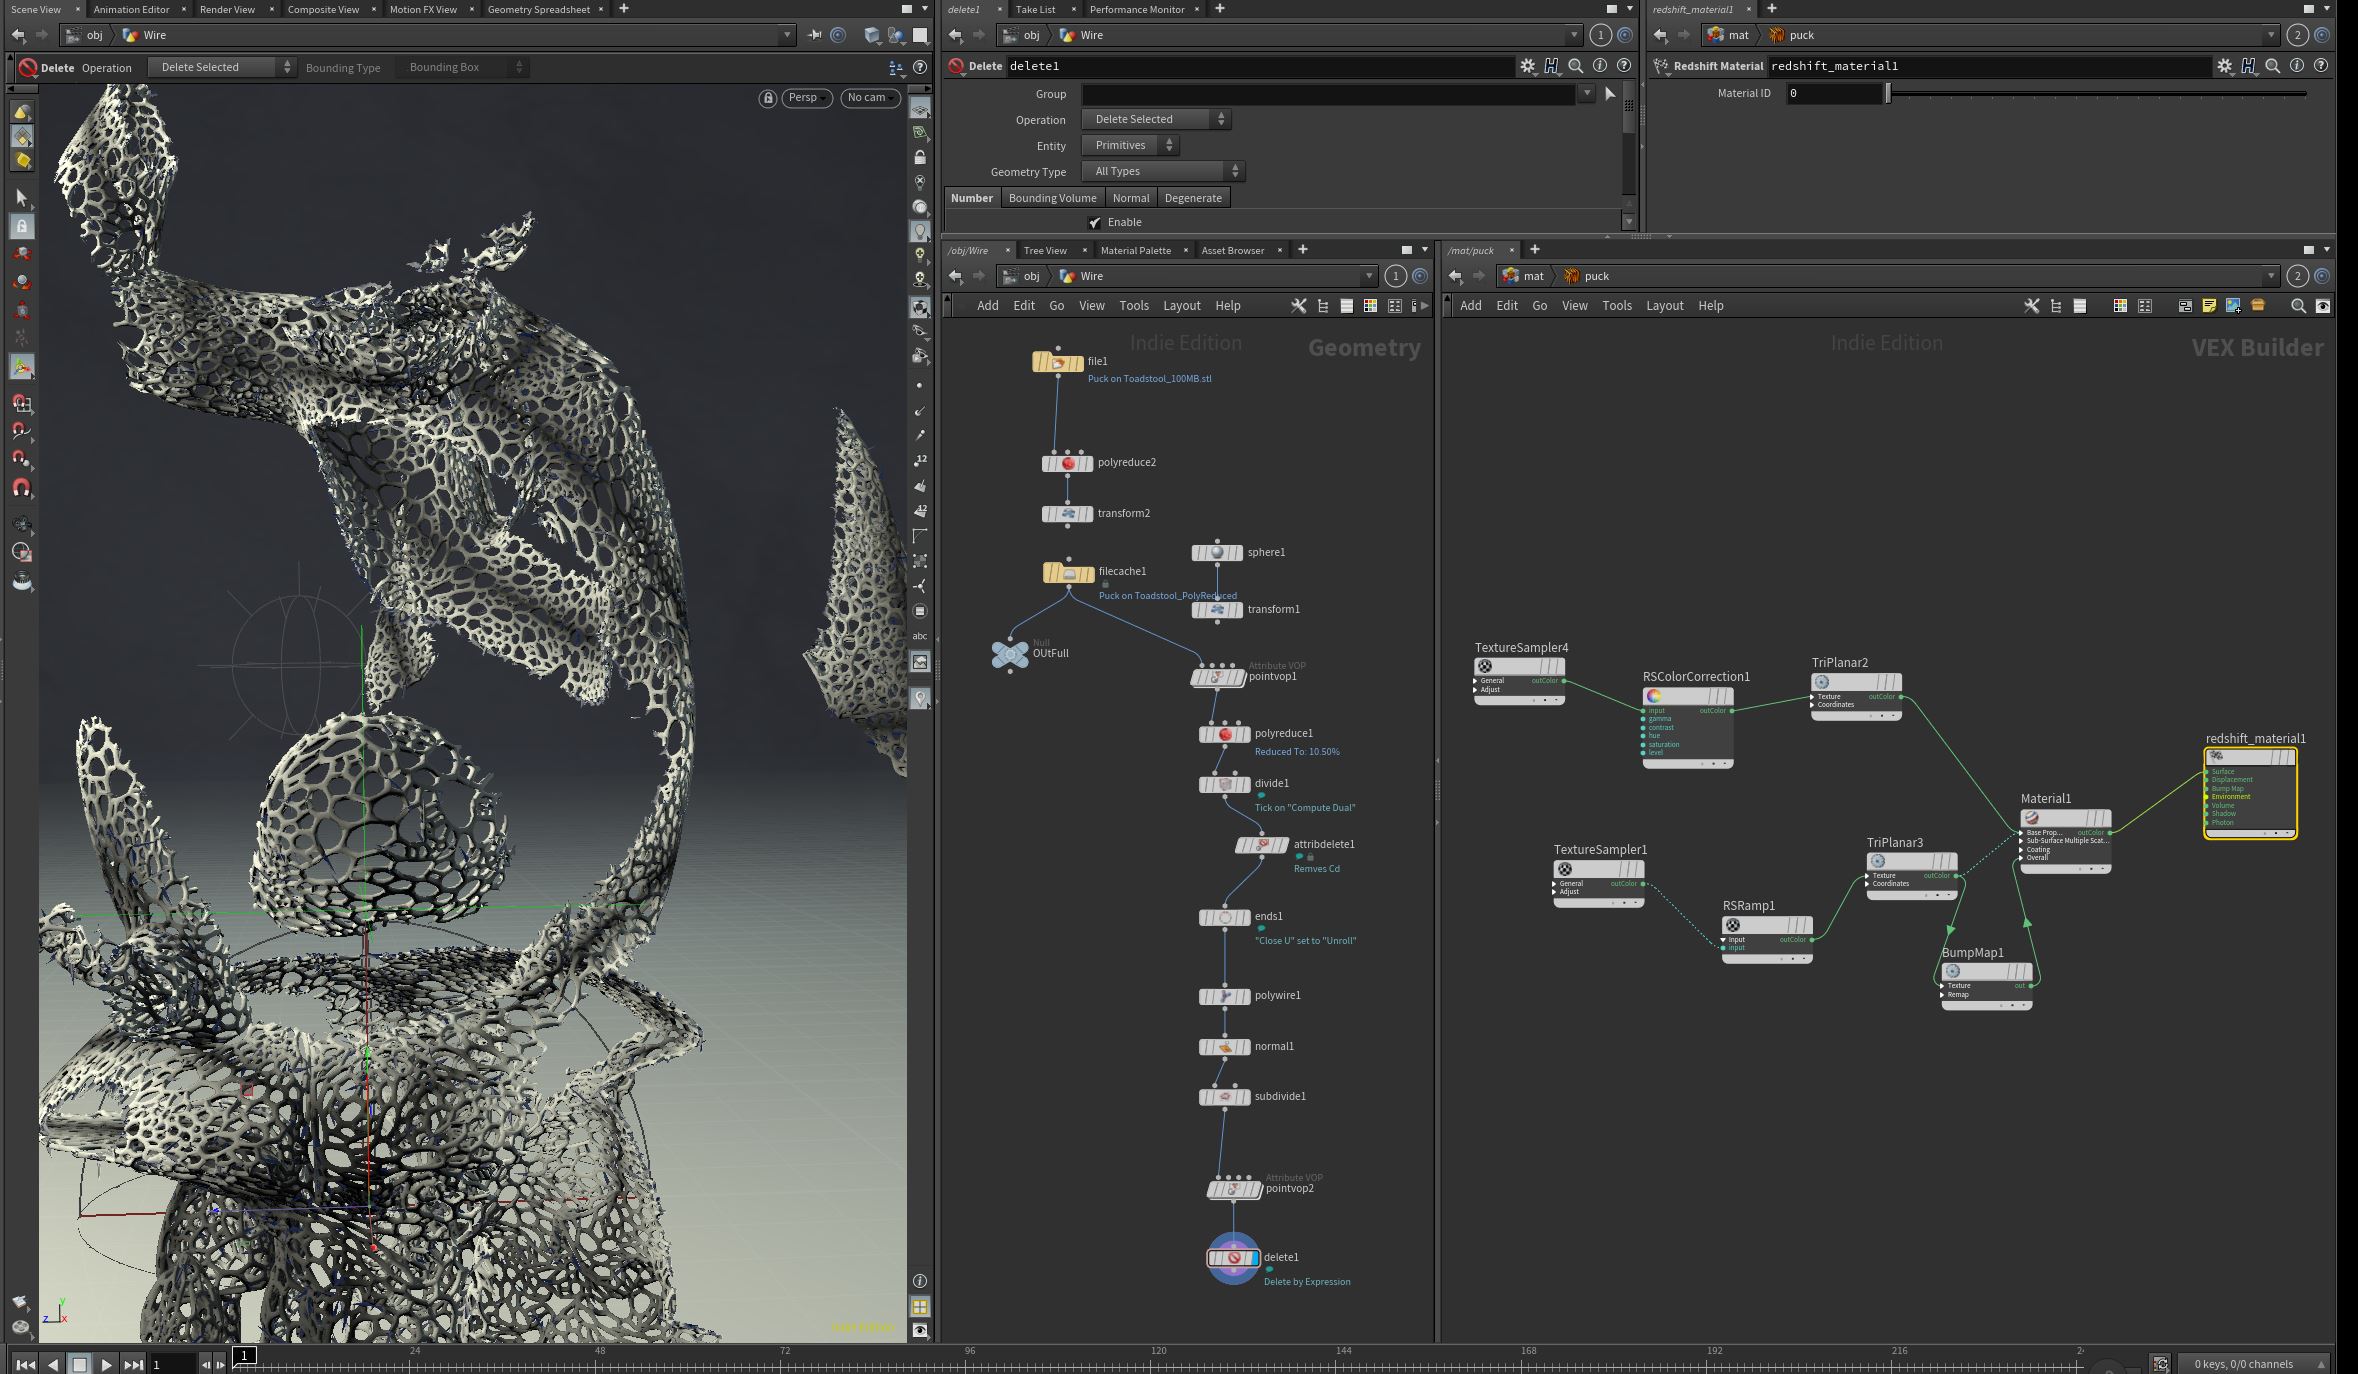
Puck in Houdini
I was following along with this Houdini live stream the other day and thought it could be interesting to apply the Redshift stuff I have been learning to it but in Houdini. I actually got it all working and built out this creepy little puck statue. You can see the nodes for tight wires and how I textured the main Puck figure in the screen shots. Did the grading in Adobe Camera Raw to finish it off and that was a wrap at 10:30 or so, lol!


Recent progress
I have continued with more RedShift in C4d and have really been enjoying it. Went back to Houdini to mess around and ran into a bug where I can’t get the lights to look at nulls. I can load the null as a target and it will track it for the first movement and then it clears the field and drops the link.
No Idea.
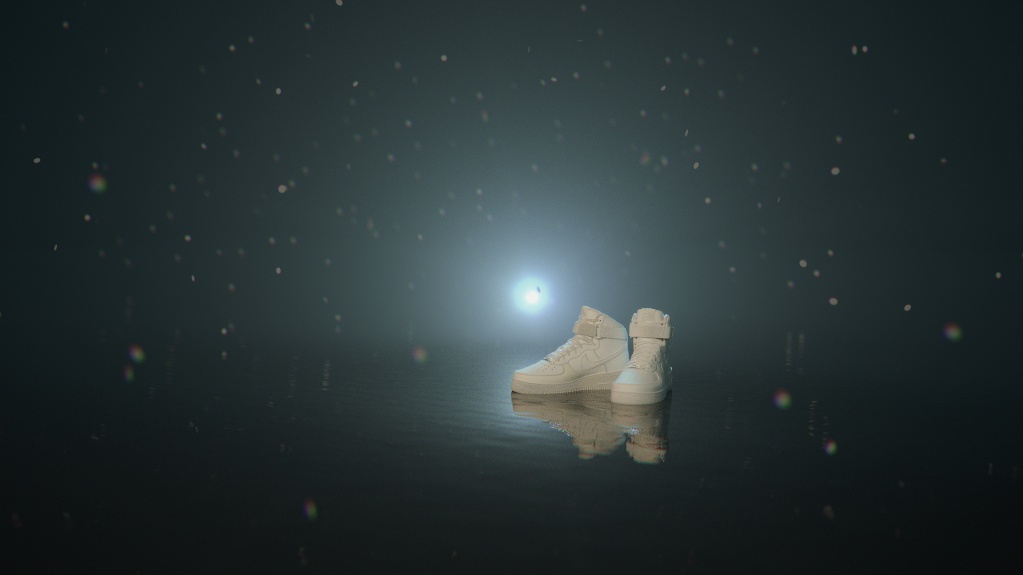
Then I tried to load a fbx file and what a freaking nightmare it is. Tried the first free solution below and it worked but a simple pair of shoes that in C4d is 4 pieces of geometry became over 150. So yeah, really frustrating. That said, being back in C4d has been really nice and easy. It’s nice not to have to break my brain to build out simple sets. So many possibilities with Houdini but it’s really frustrating to do simple ass shit.
Redshift is starting to really grow on me though. Everything works like I think it should. No abstractions or messed up ways of getting something done. Wire it up and it works. Octane is really, really easy but it does some things really quirky and non-standard. Plus, light linking is a joy in Redshift.
I will say gamma correcting scaler values is pretty abstract and should not be needed. That should be added on the programming level at the start of those channels. It is also not well documented as being needed for true representations of your textures.
Anyways, here are some of the things I have been doing along with the classes. Nothing special really but it’s nice to have a log of what I was building out. Some of these are just saved from the RenderView so I can find them later. A few are a bit more thought out ;)


One of the nice things to make is a default three point lighting set with Nulls as targets for the lights and camera. Set your GI and change the default render settings and bango, saves 5-10 minutes at the start of everything. Highly recommend building out one of those.
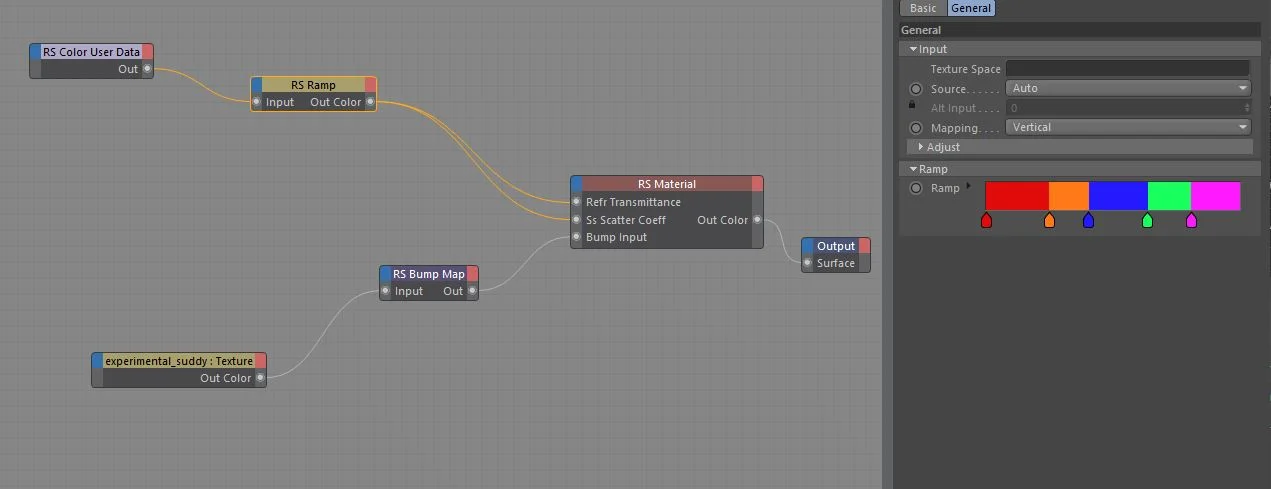
Also, Ramps are really, really, really important. Like use them on all the things.
Some Houdini OBJ stuff
Had a chance to start that RedShift Lesson from LFO Design last night and I am super happy with that purchase already. Lots of good general tidbits in there. In the meantime, the MoGraph Slack has been posting a bunch of great ways to bring in OBJs into Houdini I can’t wait to test out. Here is a free method for simpler models:
And here is a method that will do more complex models and match all the materials but it’s a shelf tool you have to buy. But at $50 it’s kinda a no brainer. OD Shelf Tools.
Can’t wait to dig into both of these at some point. But for now it’s all about RedShift, Redshift and a touch of Redshift…. maybe?
Smoke Study: Houdini and Redshift
Been super busy with the work-a-day world but I was able to get a smoke sim built in Houdini over the past few days. Think that smoke sim is where I will be spending my time when I have the energy. Pretty happy with the shape and texture of this one. Learning how to art direct it is pretty tricky. Hoping to get into animations at some point but for now I’ll stick with still I think.


Love, Death and Robots
Holy crap, started watching this last night and it’s freaking amazing. The CG is so next level.
Release
Took some time to work on a animation of the Raven skull. This is the first time I have animated anything besides a simulation in Houdini and key framing is much easier than in C4d for me. Need to practice camera moves and learn more about time ramping. Would like this to be way more slow motion but not sure how to go about that yet.
Quick Coffee Time Study
Just trying to spend more time with Houdini and Redshift this morning doing a quick study while having my morning coffee. Seeing what I can make in a limited time and just getting in the habit of it. Not anything fancy, just learning but I did come up with a nice little jack to object merge the particles out of the sim so I could texture and size independently.


Creating a Snowy Forest in UE4- Breakdown.
Really interesting break down by Leah Augustine on how she created this landscape in UE4. A lot of interesting solutions in here.
“When creating the snow textures in Substance Designer, I also created a detail normal of simple noise that I used in conjunction with the base normal. I found that when you use subsurface you tend to visually lose normal information, flattening out your material. Since I knew I wanted close up shots, I wanted to exaggerate the normals a bit more to counteract this.
I personally think that a detail normal and subsurface scattering is what helped achieve more realistic snow for this project. Subsurface, in my opinion, really brought it all together. It helps give the snow better highlights around the edges and creates the appearance of light shining through it. Subsurface can be costly, but it does make a difference .“
I tried making some snow in Octane and C4d and failed tragically. Will have to landscapes another shot at some point.
Animated Last Post
Wanted to play with animating the last project I posted. It’s my first go at actually getting into a keyframed animation in Houdini. Everything else I have done has just been a sim. Actually getting into the POP network and keyframing it to behave how I was wanted was nice. Overall, Keyframing in Houdini seems pretty easy. No need for the Dope Sheet like in C4d to move keyframes.
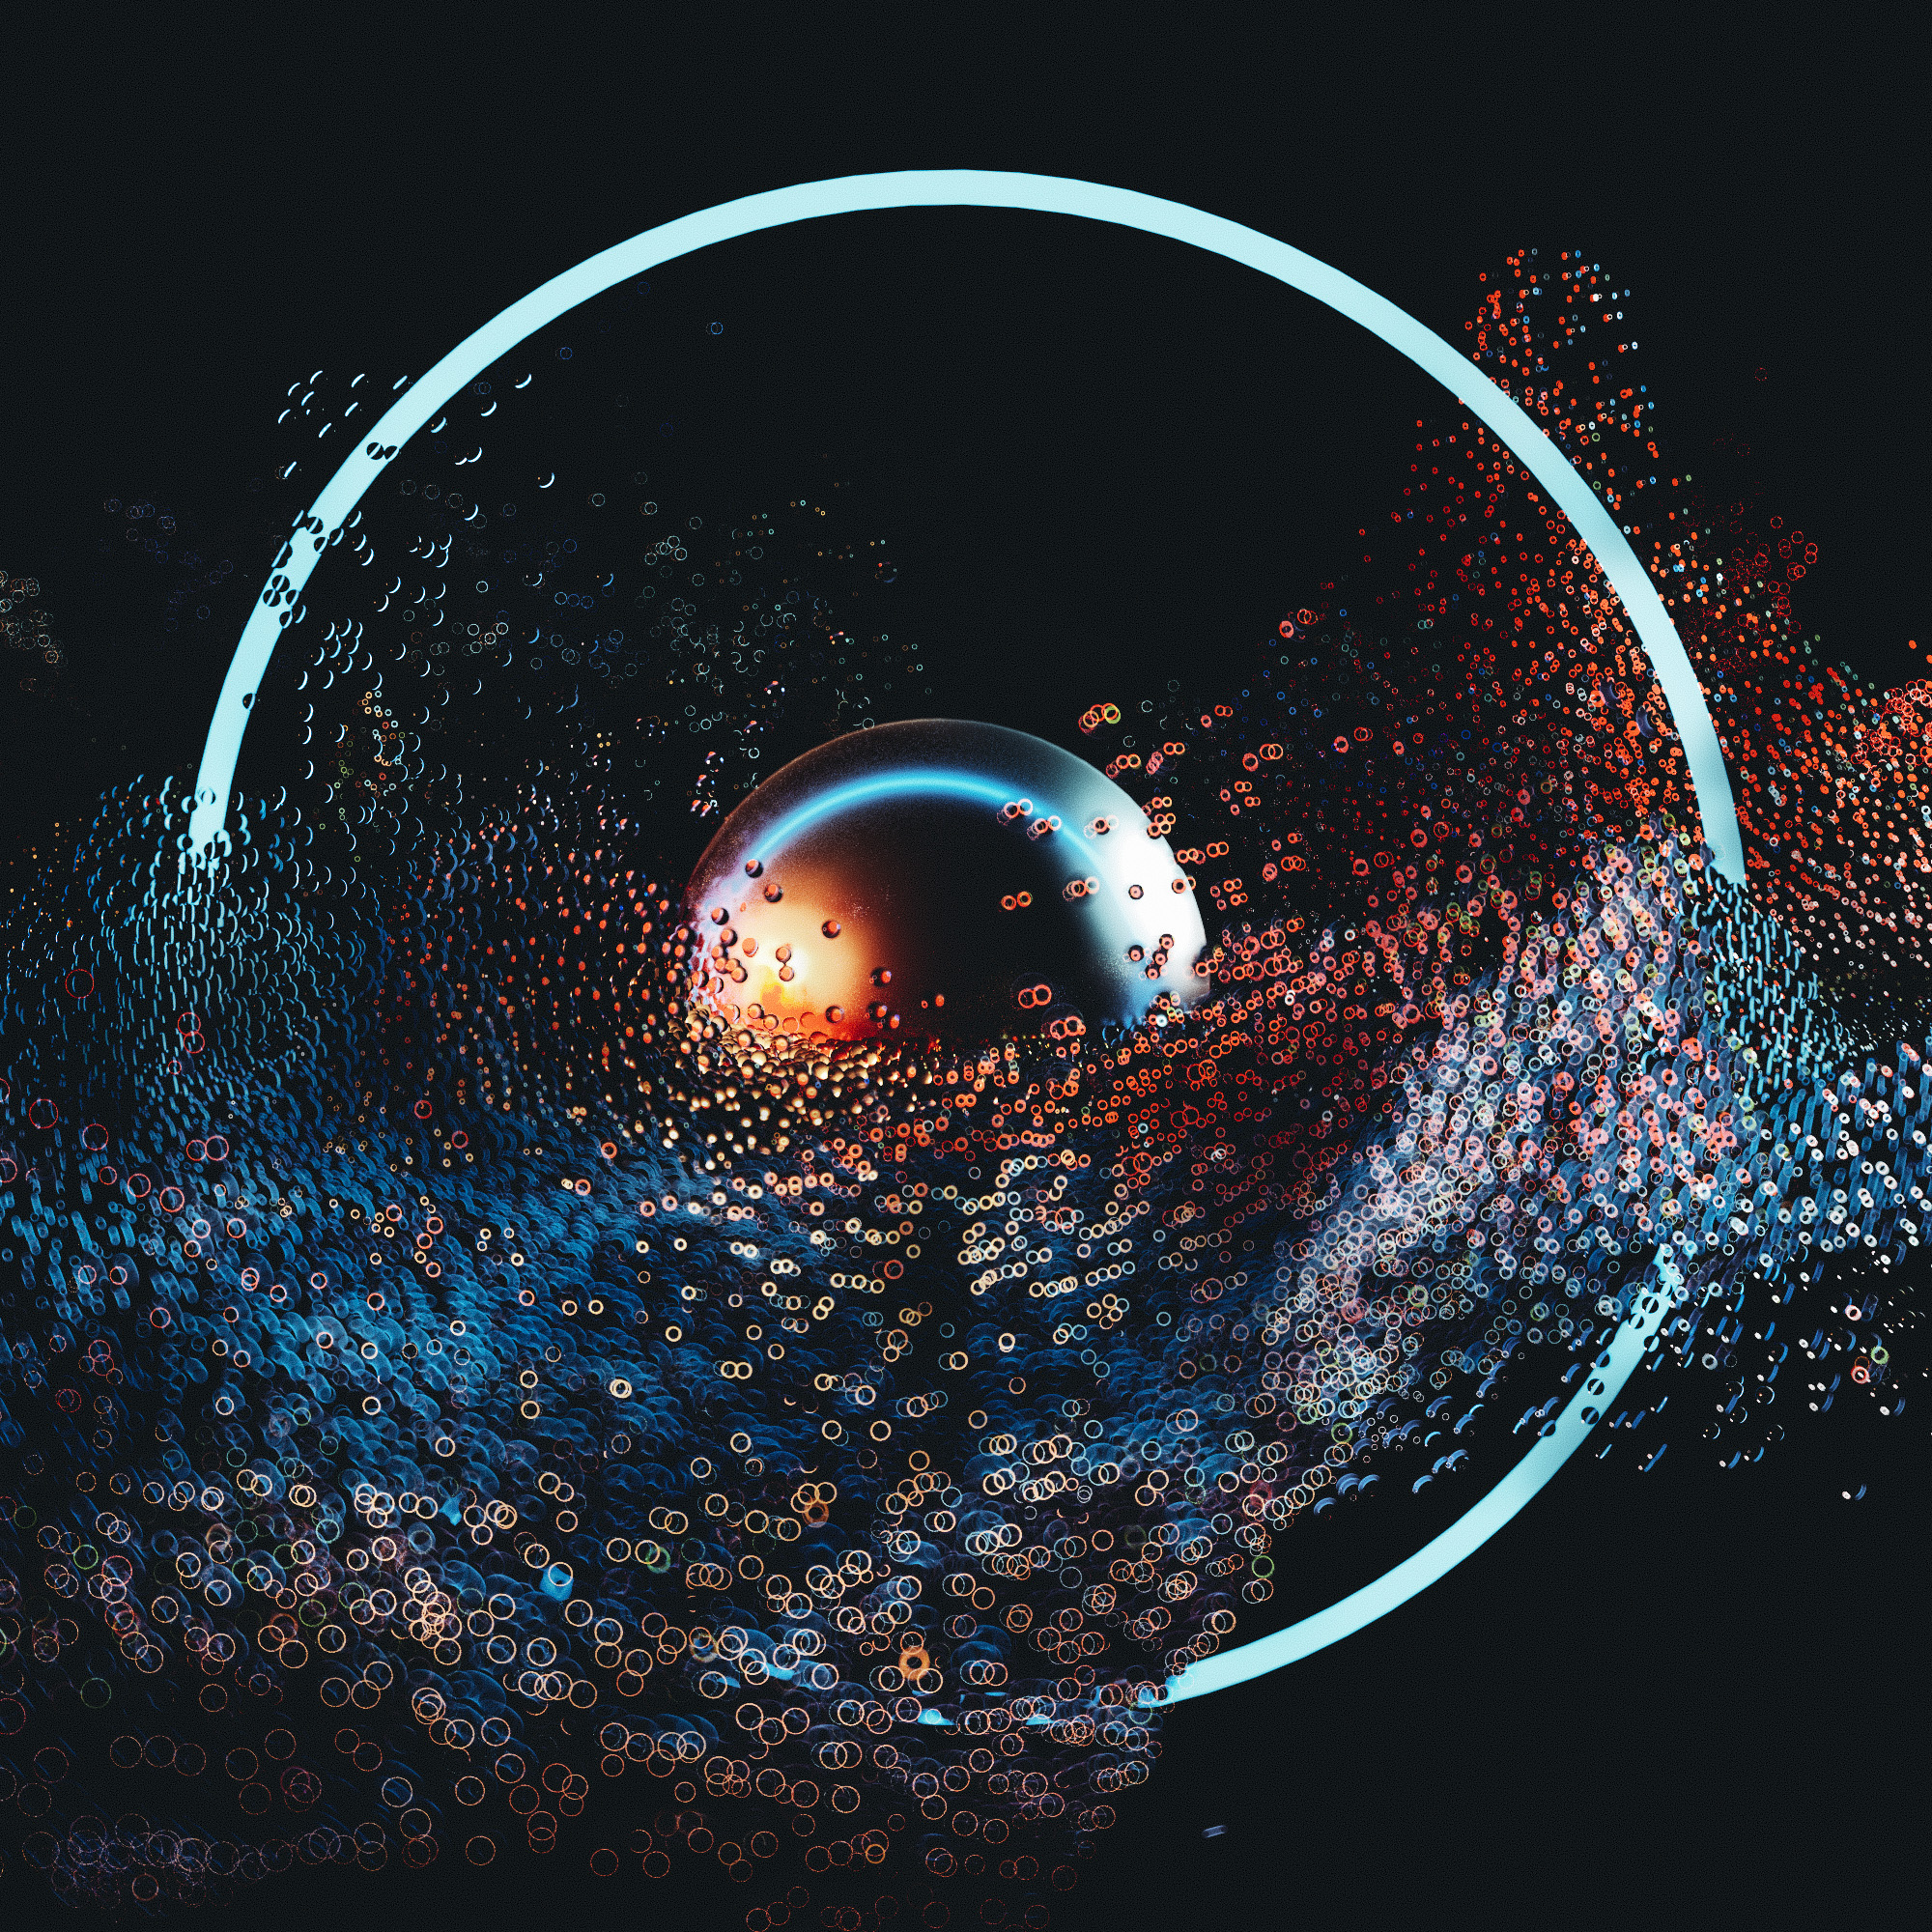
Attributes / POPs from Images
Little daily render based off of a Nine Between tutorial, “Houdini Tutorial - Nodes Part 1: Attribute Nodes”. Rendered in RedShift. Might try to run a animation of it later. I can not recommend delving in Attributes and VEX sooner than later. This set up is shockingly simple.

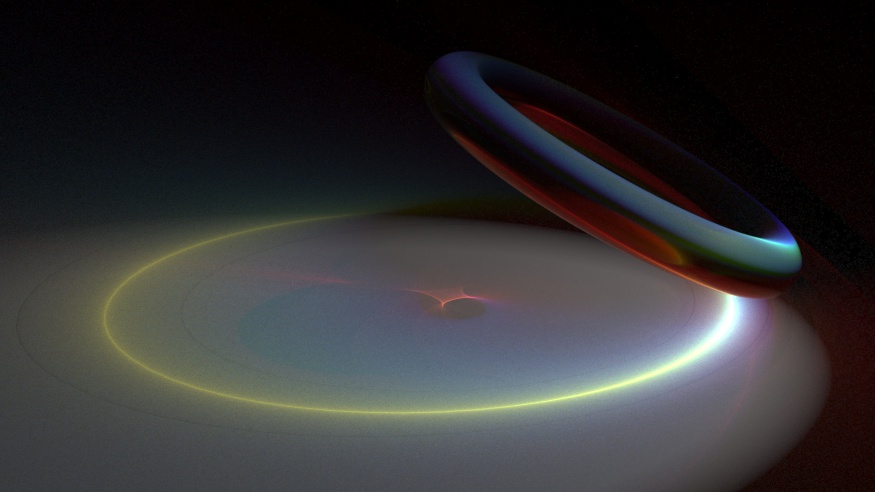
Red Shift Layered Materials in Houdini
Just wanted to work on a quick daily messing around with layered materials in RedShift Houdini.

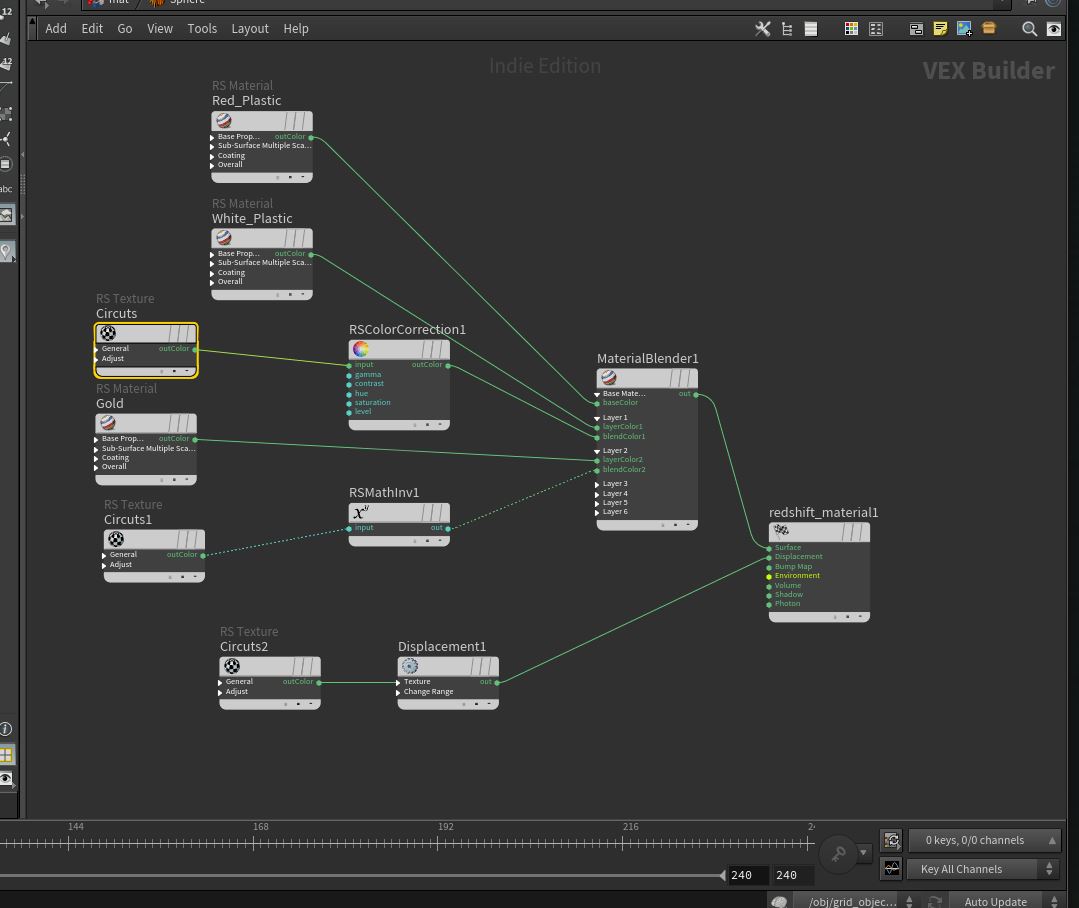
Did a bit of scatter of smaller spheres as well which I need to look into how to UV. Not too sure on how to use Particles in Redshift yet.
More Houdini and Vellum
Wanted to dive a bit into simulating with vellum so here is a pretty simple set up with a heart “balloon” type thing tumbling down some stairs.

Ran into issues with the normals flipping a lot in redshift but not the viewport. Still not really sure how I solved that issue, it just kinda went away as I was futzing around with nodes. Here is a screen shot of the Heart Geo node showing how the dynamics were wired.
Nothing fancy going on with Redshift at all but I am finding it a bit more interesting to use than Octane in Houdini at least. Not using it as much in C4d. But that is where I do “work work” and not just play with Ideas and Concepts. Now that I look at this screen shot, I should really have a Null in there…..
Houdini and Vellum.
Taking a break from learning more about Houdini’s attribute nodes to do a short study with the new Vellum solver. I did not simplify the geo in this model or tweak it. Just dropped all of it into one geo node and Houdini delt with it rather well besides a few pointed points. The animation never comes to a rest but like I said, I just plugged it in and let it rip. Using RedShift for my render engine and learning that now as well.
Moving forward with the new year, I plan on posting my danklife instagram imagery here with a bit more back story for two reasons. One, I can add the backstory and direct link to any tutorials or resources used in the making of. Two, instagrams compression officially sucks major shit. Good lord, it’s terribad. I guess part three would be to replace the dumpster fire the danklife facebook page as well.
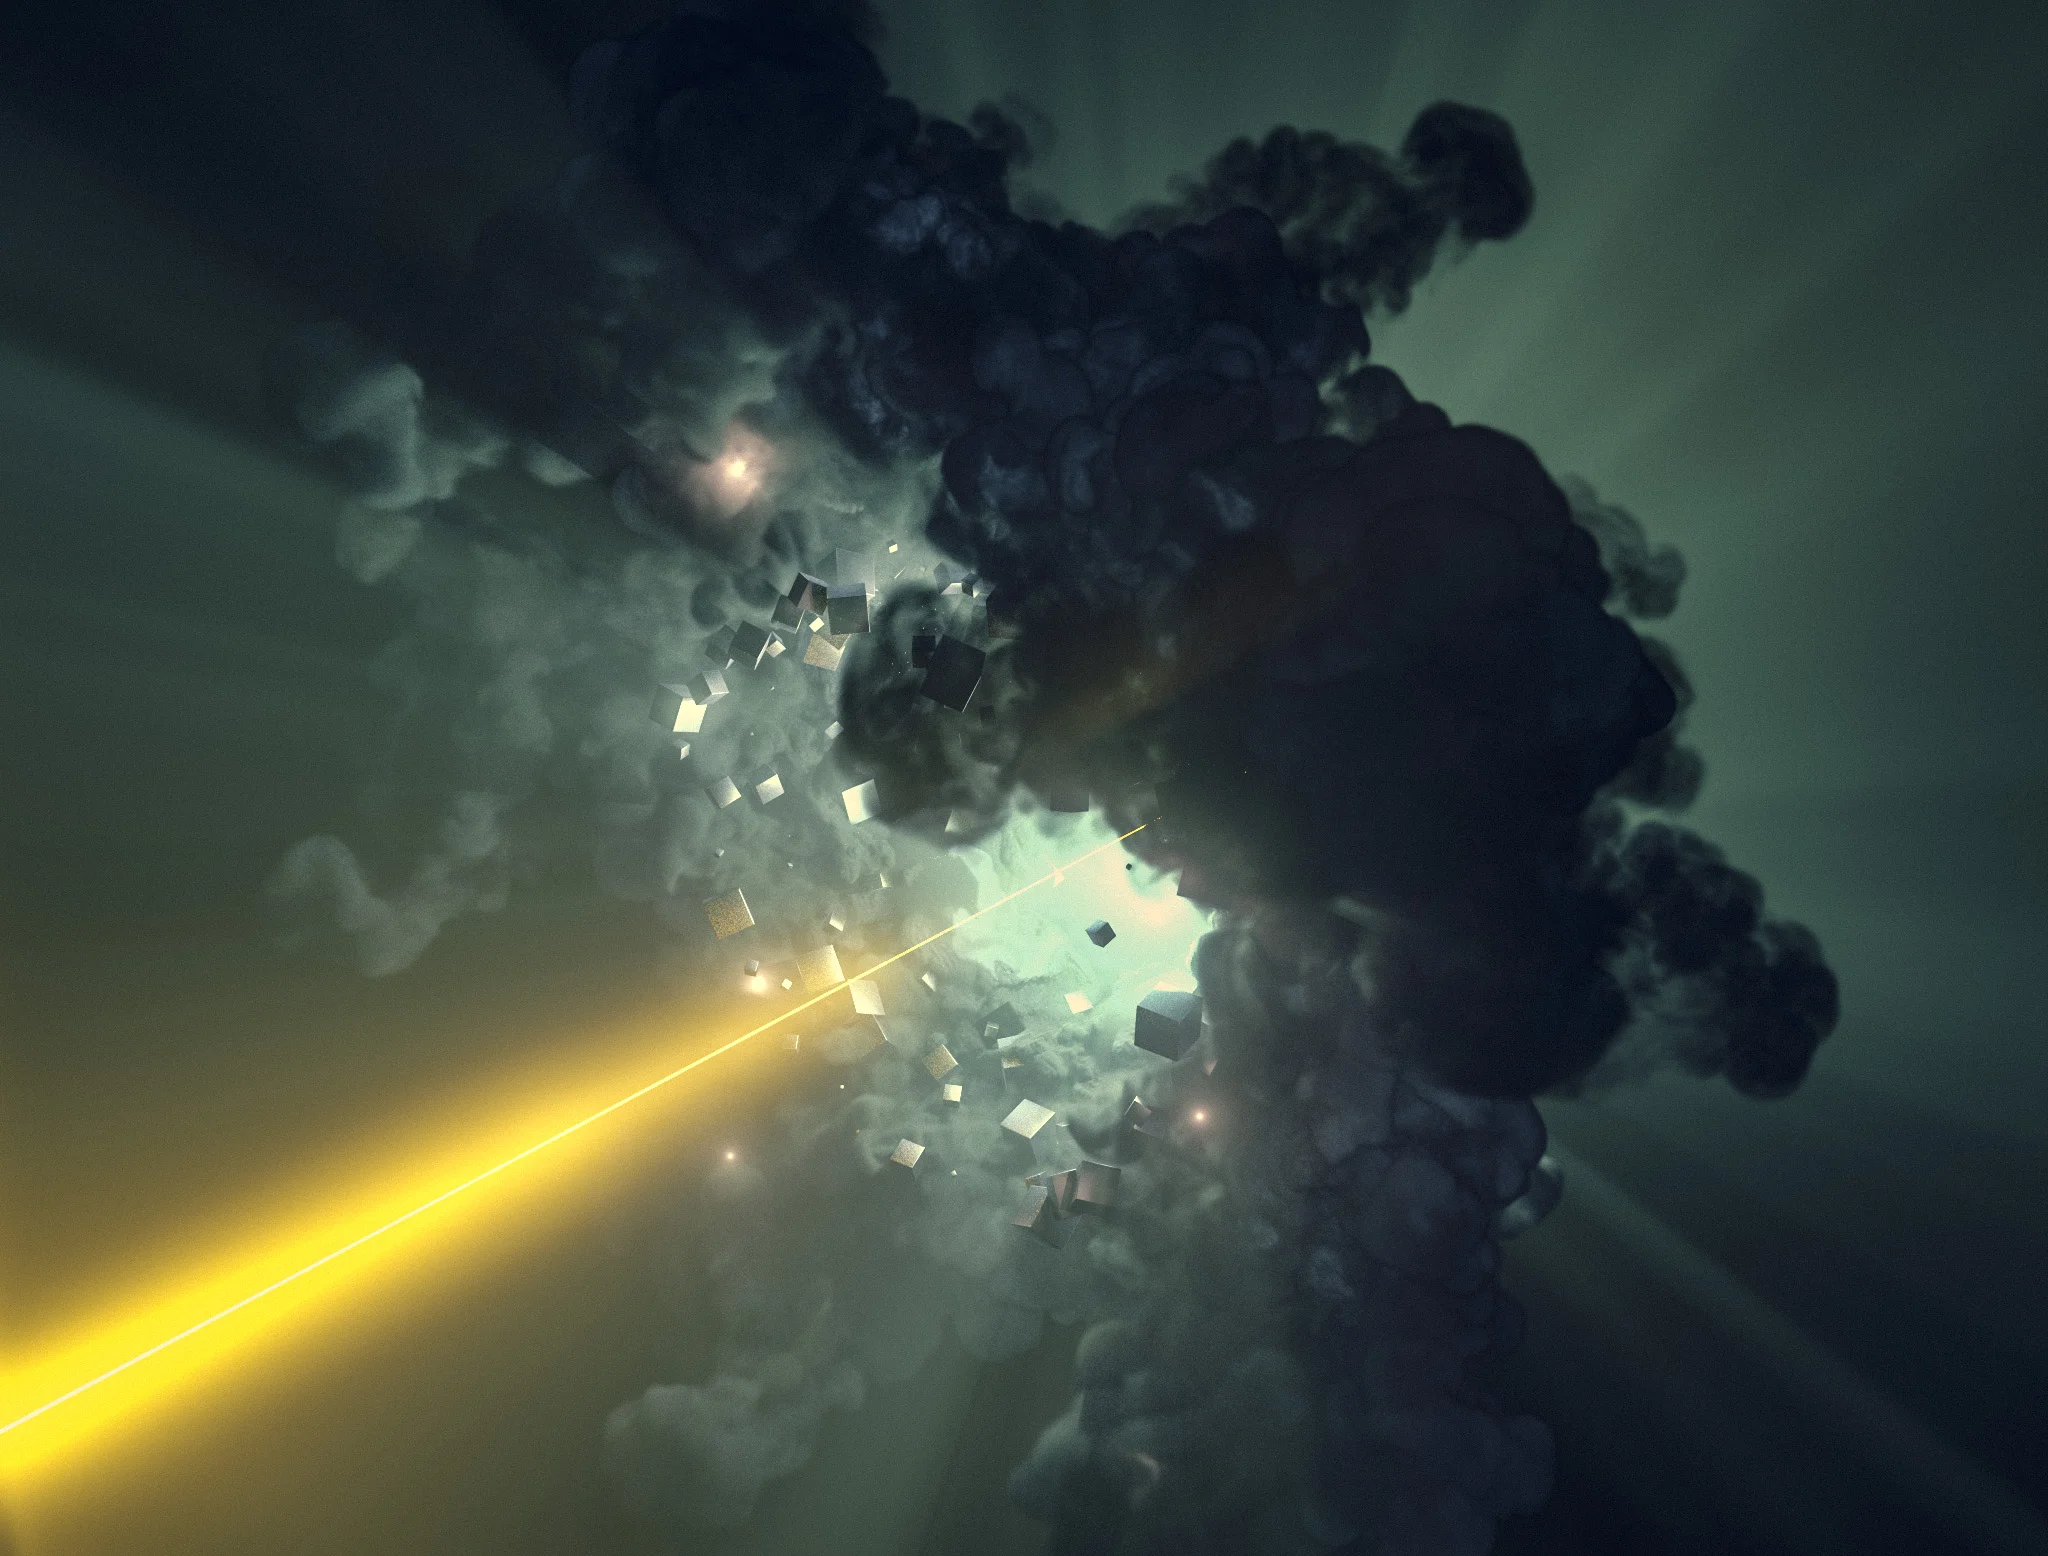
Houdini and Redshift
Been wanting to shift more into Houdini and Redshift lately and this weekend I had a little time to test out some particle tracers. Houdini just gives so much more control then Modo or Cinema 4d when it comes to FX, the little details really make the difference. It is rather difficult to parse though. Not a easy switch at all.